Posts tonen met het label Craft Glue Pen. Alle posts tonen

zondag 10 november 2019

POLKADOODLES TUTORIAL ON HOW TO MAKE A QUICK CHRISTMAS CARD WITH STARS XXX

Hi There it is my turn (Terry) to post a little tutorial on the 


Today I have a Christmas Card covered with Snowflakes for you......


I started out with 3 different colors of blue, This time I made a Christmas card with blue Snowflakes instead of White, something else right? So did you ever make Blue Snowflakes instead of the traditional white ones? This time I opted for a simple card that can be made quickly. That's very nice if you started making Christmas cards late. 


This time I worked with 2 different stencils in the background. Distress ink works perfectly with the Polkadoodles stencils. The first one I used is the Snowflake Border Stencil  . 
The different sizes of snowflakes work very well for this card, I can say that I am pretty pleased with it. Sure hope that you like it too though.

...I stamped the tiny star with the Holly Flourish Stampset. 


And to finish my card I stamped the Sentiment from the  There's Snowplace like Home stamp set from on my Christmas Card. Before I glued it onto my card I placed a dark blue cardstock underneith so the Sentiment would pop out of the card....and I think it does....what do you think?? Did it work out? Or not.....Please tell me all about it oke ...

So this was my inspirational Tutorial for your inspiration, offcourse I cannot wait untill you show what you have made. 

Thank you so much and please show you Christmas cards, I can't hardly wait....

Thank you for your time and have fun Crafting...

The products that I have played with are:

and 


I would like to join into the following challenges:


woensdag 23 oktober 2019

POLKADOODLES INSPIRATIONAL BLOG, CHRISTMAS CARD WITH POINSETTIA LACE DIES AND EMBOSSING A SENTIMENT.

Hello there, it is my Turn (Terry) to post a tutorial for your inspiration for Christmas on the Polkadoodles Inspiration Blog.

What inspired me to make a Christmas Card, is that Christmas is right around the corner so I thought I better get started on them now lol ,.....


What I had in my head was to make a Christmas Card with Purple, Blue and Lavender colors...lol....it turned out a bit different. I played with the Distress Oxides and sprayed lots of water on it and then had to wait untill my background paper was dry again, I don't like to use a heat tool because then my paper often becomes bulky, do you have that too?


So here is my background, I also used a brayer to work with the acrylic paints, Did you ever use acrylic paints for your backgrounds? Or projects? Tell me all about it oke...I really love playing with these paints, they work so well with the brayer and deviding it on the paper. 


This time I chose the Snowflake Border Stencil, I thought it would be nice to use a part of the snowflakes once and this stencil is of course very suitable for that.

I used texture pasta for the stencil and that works really great


I let the texture paste dry well and this is the result (scuse me for the picture, it was dark allready lol).


The background that I made with the acrylic paint and texture paste was processed on a card of white cardstock. I have glued it with the Craft Glue Pen onto the white cardstock. This time I made a double card out of it. Do you ever make double cards yourself? Or only the single ones? I am curious what you prefer to make. .....


I had to do something with the centerpiece of the card, do you sometimes find it difficult to decorate a card too?? I sometimes sit in mycraftroom for a while to figure out what I could do with a card to decorate it. Sometimes it is pretty difficult to get the result that you like. So what I did was, I cut some Poinsettia Lace Dies and placed them on the left side of my card and I placed a pearl in the center of it. What I did next was use the same sentiment from the Most Wonderfull Joy Stamp set and embossed it with white embossingpowder.


I just love that Sentiment and how it comes out when it is embossed. I still had some space left and thought why not place some tiny snowflakes then, did you see that there are some tiny lovely snowflakes in the Cute as Christmas Clear stamp set? I think it worked out pretty good to use them on my card. I also embossed them ......


And here is the result of my mixed media Christmas Card. I am pretty pleased about it and can't wait for you to try it out and to show the result to me. That would be so awesome.


The products that I have been working with are:

Cute As Christmas Clear Stampset
Most Wonderfull Joy Stampset
Poinsettia Lace Craft Dies
Craft Glue Pen from Polkadoodles
Snowflake Border Stencil

Thank you for looking at my Tutorial and above all let me know what you think about it.
And how nice would it be to see your creations, so come on and share your creations.  I am very curious.


I would like to join into the following challenges:


zondag 13 oktober 2019

POLKADOODLES INSPIRATIONAL BLOG, CHRISTMAS CARD KIND OF CLASSY TUTORIAL


Hey there crafters outthere, it is my Turn, (Terry) for another Christmas Tutorial.....on the Polkadoodles Inspirational Blog
I thought I would show you how to make an easy Christmas card that looks kind of classy.


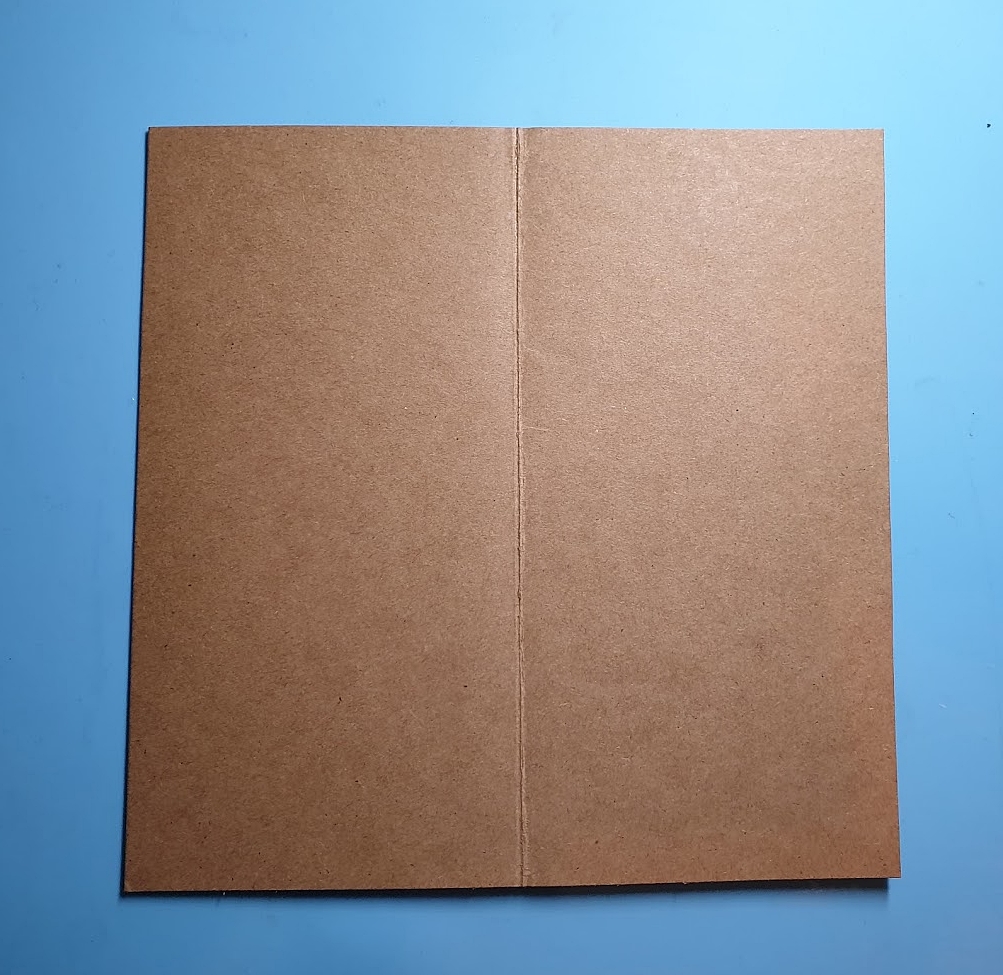
I started with a piece of cardstock, which I folded into 4 sections.


I used cardstock with the size 15 x 15 cm. After folding the card it looks like this..


The weirdest thing is I thought I was going to use a white piece of cardstock but I still liked the brown complexion with the Snowtime Like Christmas Designer Crafting Papers, even better...so sorry that this picture was taken lol.....Did you ever make that "mistake" I am wondering if I am the only one that did this lol.....
Anyway......

I have glued the Christmas Paper onto the card, on both ends.


After I was finished with the inside of the card with Green and a piece of red cardstock, I decided to fill the middle up with the Posydoodles Oval Die, I turned the oval around and placed the 3d tape on the back and then I processed the Oval Die on the card.   

 And I can tell you that I have been staring for a while at the empty Oval Die and what I could would place on it. Without something it would have become very boring, don't you think?


 So what did I come up with, why not use a big sentiment stamp and I did that. I used the beautiful Most Wonderfull Joy Clear Stamp set for this. 


I stamped the text with embossing ink on the Posydoodles Oval Die and then sprinkled it with embossing powder. Just used the heat tool for it and "wallah" the beautiful creamy white text is on it. I think it is incredibly beautiful, this stamp.


I still thought that my card was a bit empty so what I did was, I took the Cute as Christmas Clearstamp set and also stamped the tiny snowflakes with embossing ink and used my heattool. On top of the snowflakes I placed some tiny pearls to finish the inside. I must say by placing the snowflakes I really think that my card looks a lot better. 


 At the bottom of the Oval I have placed a few Christmas flowers. And on both sides where the beautiful Christmas paper is stuck on, I played around with the Doodle Borders


So here is my finished project, I sure hope that you like it and I am very curious on what kind of Christmas Card you will be making. 

I hope I have been able to give you inspiration and I am very curious about your creations. 

So please share with the 


Cannot wait what you create......


The products that I have been working with are:


Thank you so very much for checking out my Tutorial and hope to see you soon.


I would like to join into the following challenges:


maandag 30 september 2019

POLKADOODLES INSPIRATIONAL BLOG, POINSETTIA LACE DIES AND CHRISTMAS STAMPS

Hey there guys, it is MY TURN, Terry, 

to post a Tutorial on the Polkadoodles Inspirational Blog


The funniest thing happened.....I just realized that it does not take that long before it is Christmas so I thought that I would make this project a Chistmassy one. I was ready for my first picture of the products that I have used, I had in my mind these products....but....as you will see a few pictures down the post, it turned out Different than I had in mind lol....but anyways, I worked with the fabulous Poinsettia Lace Dies, they are AMAZING. Placed the dies in my Big Shot and they were cut out perfectly....You will notice why and what when you check out my Tutorial....


I chose 3 Stars from the Poinsettia Lace Dies and I wanted to give them a light blue color because Christmas makes me think NOT only of white from the snow but also the Light blue and it is a different color than usual.... So I sprayed lots of water on the Tumbled Glass Distress Ink. 


And because I wanted to let the Poinsettia Lace (stars) look a bit different than "normal" I used a bit of shaded lilac on them too....


I added the Nuvo Glitter Drops and Jewel Drops on the stars because I wanted to give them a bit of Glitter and make them even more light Blue than with only the Distress Ink. So what do you think about these "stars"? I call them stars because I think they look like them, what about you??


I played with Distress Oxide inks on my background for the card, because I think they blend so nicely together....I used purple, reddish, white and blue. When I put the distress ink on it and it was dry, I started working with chlorine. I wanted to know if that would also make the color lighter, I thought my background for a Christmas card was a bit too dark. And quess what....it worked out the way I wanted it to be lol..... So after that...... I played with the Snowflake Border Stencil with Transparant Texture Paste, if you look at the picture of my background you can see the Snowflakes coming up to the front, Can you see them? 

At first I had a bit of a problem with the Transparanty lol....so what I did to fix it was.... I grabbed my paintbrush and put Gesso on it and what happened the snowflakes came a bit more to the foreground, problem solved.


So now you can see the Transparant snowflakes can't you? 


Perhaps you ask yourself why did she post this picture? Well it is because I wanted to show you that there is a blue piece of cardstock behind my colorfull background. Can you see it?
And I played a bit with the Doodle Borders all around my card.....


I thought my card was missing something and then I figured out that the Holly Flourish Stampset has such fabulous curly stamps in the stampset and I just had to use them...At first I wanted to stamp with White Ink but when I did you could not even see it...then I thought I would stamp with the Black ink and when it was dried up I would put the Nuvo Glitter on top of it, if you click on the picture I hope you can see it...so another "problem" solved lol......


And I placed the Sentiment 25 December from the Gnome stamp set on it to finish my card. I embossed the sentiment in white. So and this is finished project, so YOU like it ????? I do lol....and might I asked you IF you would make a card like this who would you sent it to? I would love to see YOUR projects guys and I would LOVE to see YOUR version of it....

Thank you for visiting the blog and sure hope to see your projects. 


Some products that I have played with are:


Thank you for watching guys....


I would like to join into the following challenges:


zondag 18 augustus 2019

POLKADOODLES CRAFTS AND UNIQUE STAMPS, TUTORIAL on How to create a VINTAGE INSPIRED CARD WITH TEXTURES


Hello there, today it is my turn, Terry, to give you some inspiration on the Polkadoodles Inspiration Blog. I have made a vintage looking card with lots of soft colors, made with lots of the newest stamps and stencil. How I made it I will show you in this Tutorial 


I started out by cutting a 15 x 15 cm piece of paper. Here I started to work with some colors, divided the colors by spraying some water on it until I thought the colors were soft enough. At first I wanted to use all 4 colors, but in the end I used only 3 colors....


Before using the stencil, I first ensure that the paper has a layer of Gesso, wanted to "lighten up" the background color a bit.....


Then I thought that first I could stick some ripple paper on my background paper, then the pigment powder and with some water the colors ran nicely on the paper. I also used a paintbrush to "help" the water with the color run through the rest of the background.......


So finally I was ready to play with the Number Collage Stencil


Do you know that most crafters are busy with something and suddenly have in their head that it still needs a color? So I had that too lol.....I added some white paint on the background 


and some crackle had to be added on there too. Then I grabbed the Vintage Text stamp and stamped it on different pieces with 2 different colors


The background paper was dry after I dried it with the Heattool, then I started stamping around with the Doodle Borders stamp


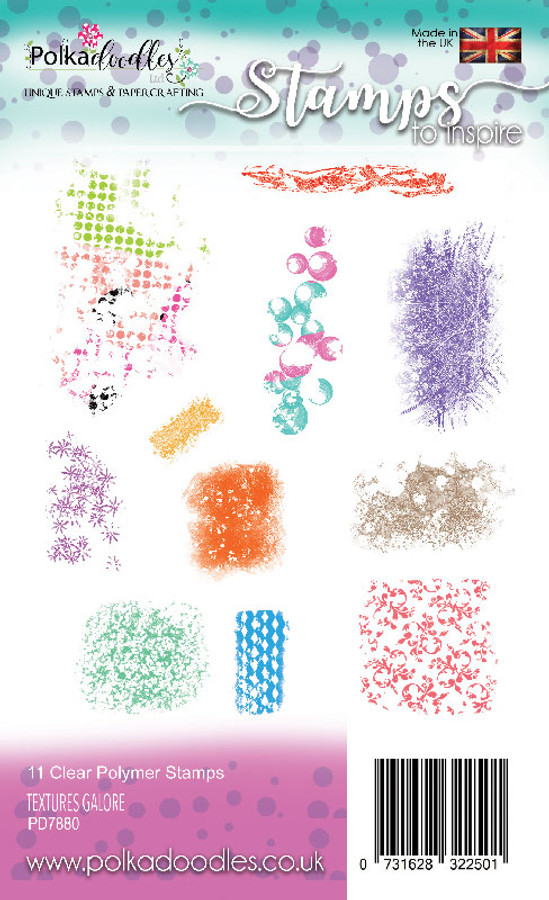
Did not think that that was enough so I took the Texture Gallore stampset en stamped on the background paper some more to fill in the blanks....


Did you know that Polkadoodles has just wonderfull Glue Pen? I played with it to glue my butterflies onto the card. It works really good I can tell ya that.....so if you do not have a Glue pen like this, you better purchase it cause it is just wonderfull......


So I had 4 butterflies from 2 different stampsets (Bella Fleur and Flower Collage Stampset) and colored with Distress Inks and placed some crackle on top of them, after I was finished I Glued them onto my card.......


From the Hello Friend stampset I stamped the sentiment Each New Day is Special and this one is no different, I cut it into pieces and glued it onto my card


All around the sentiments I played with a black fineliner to let the words "pop" out of the card. I think I did a pretty good job on that lol....


With that same fineliner I scribbled on the butterflies


So there you have it, I hope I have given you some inspiration on how to make a Vintagy card with lots of stamps, stencils, color
Can't wait to see your creations....

Thanks for stopping by and hope to see you soon.


The Polkadoodles Products that I have played with are:

Textures Galore stamp set -  11 clear Polymer stamps


Vintage Text clear stamp set


Thank you so much for visiting my blog and hope to see your creations soon.

I would like to join into the following challenges: