Posts tonen met het label Nuvo drops. Alle posts tonen

maandag 16 augustus 2021

Art Party Weekend projecten

Hallo allemaal hier weer eens een blogpost van mij.....

Hey there here is another blogpost of mine.....

Afgelopen weekend was de Art Party Weekend op facebook van o.a. Tracy Weinzapfel en Mansi Bhatia Tripathi.

Last weekend the Art Party Weekend was on facebook with Tracy Weinzapfel and Mansi Bhatia Tripathi and lots of other artists.....

Geweldig leuk om mee te doen. De opdracht was om een art journal pagina te vullen met Bloemen, zelf getekende bloemen dan......en de middelste pagina's in mijn art journal zijn gevuld met allerlei lagen verf, acrylverf, crackle nuvo drops, inktense potloden etc. Zo gaaf om lekker bezig te zijn. 

It was wonderfull to join into the fun. The assignment was to fill up a page in the art journal with flowers....self drawns flowers that is.....the middle page is filled up with lots of layers of paint, acryl paint, crackle, nuvo drops, inktense pencils etc....I was having loads of fun.....


Deze pagina is gemaakt van de les met Tracy Weinzapfel, een zeer getalenteerde vrouw. met eerst de achtergrond te vullen met verschillende soorten verf. Daarover heen heb ik verschillende bloemen getekend totdat mijn pagina gevuld was, de achtergrond is met een donkere kleur Ecoline marker gekleurd.

This page is made with filling up the background with all sorts of paint, on top of that I have drawn flowers untill the page was full....the background has been colored with a dark color with the Ecoline marker. 


Deze live was een van Mansi Bhatia Tripathi, een enorm getalenteerde vrouw. Geweldig leuk om te zien en om mee te doen.
De achtergrond is gemaakt door middel van felle kleurtjes acrylverf, daaroverheen  heb ik een tak met bladeren getekend. Die is bewerkt met een stencil en met nuvo drops, en om de bladeren heen heb ik een inktense potlood gebruikt en met een waterpenseel iets uitgeveegd. 
Als laatste een sentiment van #JenineSiemerink gebruikt om het af te maken. 

This lesson was one of Mansi Bhatia Tripathi, a very talented lady. I had loads of fun joining into the fun. The background was made with lots of bright colors acrylic paints. On top of that I have drawn a branch with leaves. I worked on the leaves with a stencil, nuvo drops and around the leaves with a Inktense pencil. And with a waterpen I played with the color. Last but not least I have used a sentiment from #JenineSiemerink to finish my project. 


Ook deze achtergrond is gemaakt met acrylverf, crackle gebruikt en nuvo drops de tekst heb ik van het internet gehaald en opgeknipt om te verdelen over de pagina. 

This background is also made with lots of different colors acrylic paint and crackle, nuvo drops and the quote I found on the internet. I have cut the words and devided them over my page. 


Deze pagina is een combi van beide lessen van de dames, ook de bloemen zelf getekend, voor een eerste keer niet gek toch? Achtergrond donker gemaakt met Ecoline marker en de bloemen nog bewerkt met een posca pen. 

This page is a combined one on the lessons from both ladies. I have drawn the flowers myself and might I add not bad eh? Background is made darker with the Ecoline marker and the flowers are worked on with a Posca pen. 

Ik wil graag deelnemen aan een paar challenges:
Namelijk:
I would like to join into the following challenges:


Thank you for your lovely comment. Hugs Terry xxxx

maandag 30 september 2019

POLKADOODLES INSPIRATIONAL BLOG, POINSETTIA LACE DIES AND CHRISTMAS STAMPS

Hey there guys, it is MY TURN, Terry, 

to post a Tutorial on the Polkadoodles Inspirational Blog


The funniest thing happened.....I just realized that it does not take that long before it is Christmas so I thought that I would make this project a Chistmassy one. I was ready for my first picture of the products that I have used, I had in my mind these products....but....as you will see a few pictures down the post, it turned out Different than I had in mind lol....but anyways, I worked with the fabulous Poinsettia Lace Dies, they are AMAZING. Placed the dies in my Big Shot and they were cut out perfectly....You will notice why and what when you check out my Tutorial....


I chose 3 Stars from the Poinsettia Lace Dies and I wanted to give them a light blue color because Christmas makes me think NOT only of white from the snow but also the Light blue and it is a different color than usual.... So I sprayed lots of water on the Tumbled Glass Distress Ink. 


And because I wanted to let the Poinsettia Lace (stars) look a bit different than "normal" I used a bit of shaded lilac on them too....


I added the Nuvo Glitter Drops and Jewel Drops on the stars because I wanted to give them a bit of Glitter and make them even more light Blue than with only the Distress Ink. So what do you think about these "stars"? I call them stars because I think they look like them, what about you??


I played with Distress Oxide inks on my background for the card, because I think they blend so nicely together....I used purple, reddish, white and blue. When I put the distress ink on it and it was dry, I started working with chlorine. I wanted to know if that would also make the color lighter, I thought my background for a Christmas card was a bit too dark. And quess what....it worked out the way I wanted it to be lol..... So after that...... I played with the Snowflake Border Stencil with Transparant Texture Paste, if you look at the picture of my background you can see the Snowflakes coming up to the front, Can you see them? 

At first I had a bit of a problem with the Transparanty lol....so what I did to fix it was.... I grabbed my paintbrush and put Gesso on it and what happened the snowflakes came a bit more to the foreground, problem solved.


So now you can see the Transparant snowflakes can't you? 


Perhaps you ask yourself why did she post this picture? Well it is because I wanted to show you that there is a blue piece of cardstock behind my colorfull background. Can you see it?
And I played a bit with the Doodle Borders all around my card.....


I thought my card was missing something and then I figured out that the Holly Flourish Stampset has such fabulous curly stamps in the stampset and I just had to use them...At first I wanted to stamp with White Ink but when I did you could not even see it...then I thought I would stamp with the Black ink and when it was dried up I would put the Nuvo Glitter on top of it, if you click on the picture I hope you can see it...so another "problem" solved lol......


And I placed the Sentiment 25 December from the Gnome stamp set on it to finish my card. I embossed the sentiment in white. So and this is finished project, so YOU like it ????? I do lol....and might I asked you IF you would make a card like this who would you sent it to? I would love to see YOUR projects guys and I would LOVE to see YOUR version of it....

Thank you for visiting the blog and sure hope to see your projects. 


Some products that I have played with are:


Thank you for watching guys....


I would like to join into the following challenges:


maandag 22 juli 2019

22-07 POLKADOODLES CRAFTS AND UNIQUE STAMPING TUTORIAL XXX


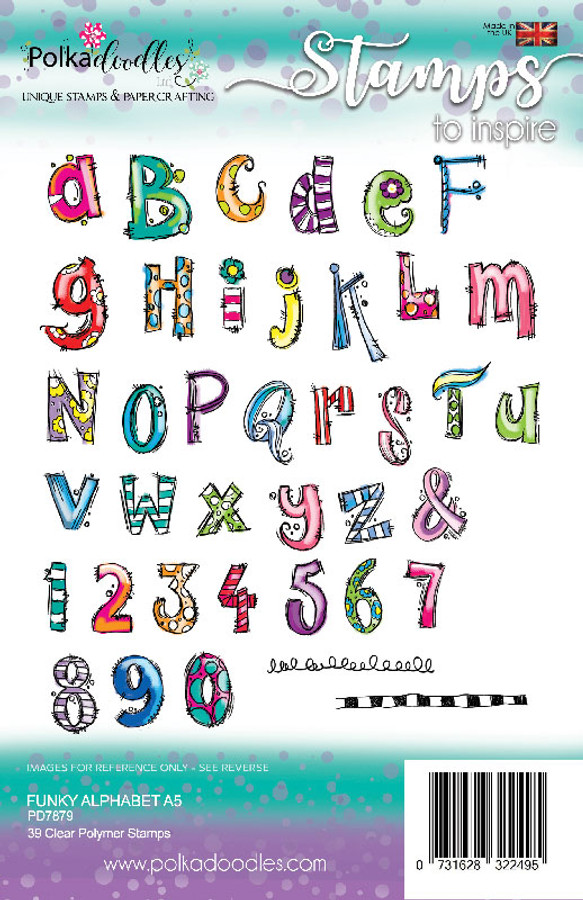
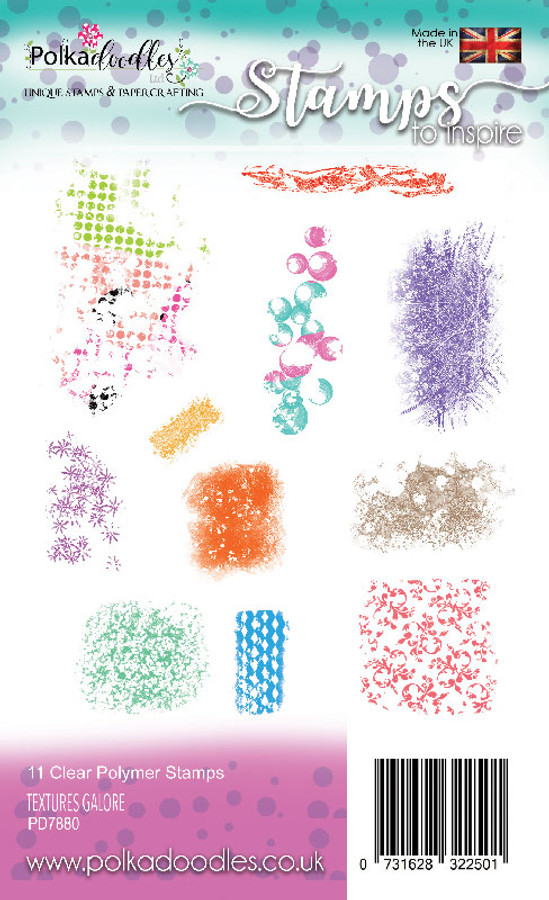
Hey there guys, it is my turn for a Tutorial on how to make a fun card.....using the Fabulous and Magical Flowergirl stampsets, Funky Alphabet stamps and the Textutre Galore with distres ink 


I started out to colour my background of the card, I wanted to use soft tones. So I colored the backgrond with 3 colors. 


After that, I played with the Gracefull Flowergirl 4 and stamped her on the background of my card. I used my Stamp Platform to stamp it. Perhaps you think what I was thinking lol....what now? well.....


I stamped her twice on masking paper and cut the both of them out.


And I stamped her once again on the background paper.....and some letters from the Funky Alphabet Stamp set on it too


Love the colors that I have chosen and from Magical Corner stampset I stamped some dragonflies and cut them out aswell.  After they were cut out I painted them in a light blue color and placed them onto my card. What I did next was I thought the letters looked so "flat" so I took out my Nuvo drops and devided it onto the different letters. This way they looked a bit dimensional. 


When I was finsihed with that the card could use some sentiments but not Too much...so what I did was I stamped the sentiment from the Gracefull Flowergirl #3 and cut the sentence into a few words and devided the words onto the card. 


Last but not least I placed some glitterdrops onto the dress of the Flowergirl and around the card I stamped some decorations to finish it. 


The products that I have worked with are:


Funky Alphabet A5 stamp set -  39 clear Polymer stamps
Funky Alphabet A5 Clear Stamp Set
Graceful Flower Girl 3 clear Polymer silhouette stamps
Gracefull Flowergirl 3


Graceful Flower Girl 4 clear Polymer silhouette stamps
Gracefull Flowergirl 4
Textures Galore stamp set -  11 clear Polymer stamps
Textures Galore Clearstamp Set


Magical Corner - 3 clear Polymer silhouette stamps
Magical Corner 3 clear Stamps
If you cllick the linky it will take you to the shore where you can purchase your products to make this easy and fun card.

Thank you for checking out my Tutorial and sure hope to see your creations. 

Thank you very much


Would like to join into the following challenges: