
Hey there crafters outthere, it is my Turn, (Terry) for another Christmas Tutorial.....on the Polkadoodles Inspirational Blog
I thought I would show you how to make an easy Christmas card that looks kind of classy.
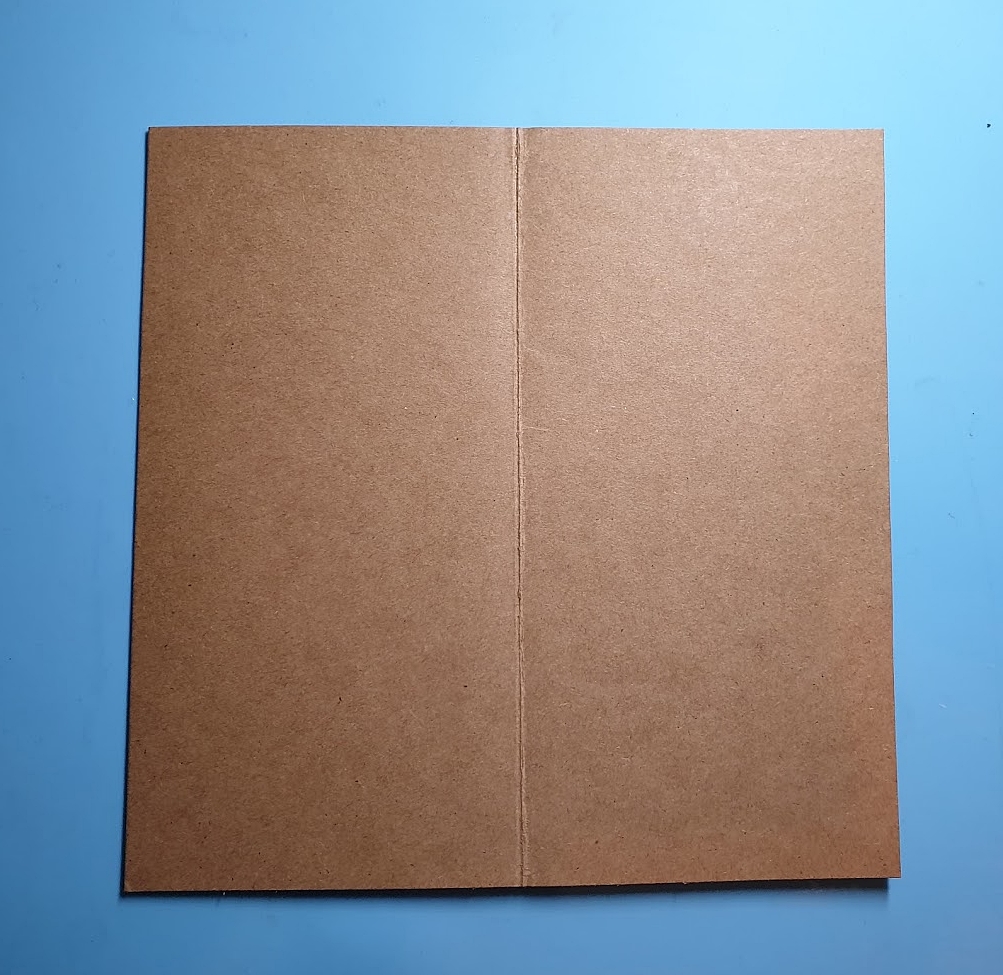
I started with a piece of cardstock, which I folded into 4 sections.

I used cardstock with the size 15 x 15 cm. After folding the card it looks like this..

The weirdest thing is I thought I was going to use a white piece of cardstock but I still liked the brown complexion with the Snowtime Like Christmas Designer Crafting Papers, even better...so sorry that this picture was taken lol.....Did you ever make that "mistake" I am wondering if I am the only one that did this lol.....
Anyway......
I have glued the Christmas Paper onto the card, on both ends.

After I was finished with the inside of the card with Green and a piece of red cardstock, I decided to fill the middle up with the Posydoodles Oval Die, I turned the oval around and placed the 3d tape on the back and then I processed the Oval Die on the card.


I stamped the text with embossing ink on the Posydoodles Oval Die and then sprinkled it with embossing powder. Just used the heat tool for it and "wallah" the beautiful creamy white text is on it. I think it is incredibly beautiful, this stamp.

I still thought that my card was a bit empty so what I did was, I took the Cute as Christmas Clearstamp set and also stamped the tiny snowflakes with embossing ink and used my heattool. On top of the snowflakes I placed some tiny pearls to finish the inside. I must say by placing the snowflakes I really think that my card looks a lot better.


So here is my finished project, I sure hope that you like it and I am very curious on what kind of Christmas Card you will be making.
I hope I have been able to give you inspiration and I am very curious about your creations.
So please share with the

Cannot wait what you create......

The products that I have been working with are:
Thank you so very much for checking out my Tutorial and hope to see you soon.

I would like to join into the following challenges:
Ziet er heel leuk uit, bedankt voor de inspiratie en tutorial, groetjes Petra
BeantwoordenVerwijderenHello Terry… Your card is lovely… good tutorial too. Thanks for sharing it with us at Crafty Friends. It fits perfectly with our ‘Christmas’ challenge theme. Hope you will come back again soon.
BeantwoordenVerwijderenDiane Louise [Team Leader for Crafty Friends Challenge Blog]
I like tutorials, your work is amazing.
BeantwoordenVerwijderenI feel Christmas. Thank you for participating in the Brown Sugar Challenge. Danka DT
Great card, the embossed sentiment really pops. Thanks for sharing your creation with us at Crafty Friends, we hope to see you back again.
BeantwoordenVerwijderen
BeantwoordenVerwijderenشركة تنظيف منازل بابها
شركة تنظيف منازل بخميس مشيط
شركة مكافحة حشرات بابها
شركة مكافحة حشرات بجازان
شركة مكافحة حشرات بخميس مشيط
شركة رش مبيدات بابها
شركة رش مبيدات بجازان
شركة رش مبيدات بخميس مشيط
شركة مكافحة حشرات بحائل
شركة تنظيف منازل بحائل
So glad that you have shared your great artwork with us here at Through the Purple Haze. Good luck hun and do come back again!
BeantwoordenVerwijderenJackie DT @ ttph