

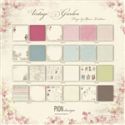
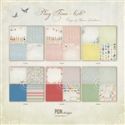
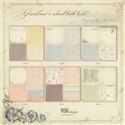
I used papers from Pion Design, Wendy Vecchi stamp set Art for You, stencils from Dyan Reaveley, Wendy Vecchi, Tim Holtz Tissue Wrap paper, Embossing Paste from Wendy Vecchi, Distress Inks, a spatula and a plain notebook. Usually when I start crafting I don't know what I will end up with, and in between I might change my mind too, so it's difficult for me to come up with the products before I start... lol!

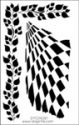
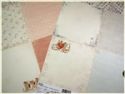
First I played with the Pion Papers, this one is ?????? butterfly. The colours in this paper is amazing, my favourite color purple, and I choose the Dyan Reavely stencil with the leaves on it... at first...

I cut the fabby papers and got the size of the front and back of the notebook. I used the paper distresser to roughen up the borders and played a bit with Distress Ink to give it an older look.

Of course the inside of the notebook has to be altered too. I found a piece of the Pion Papers with butterflies on it and cut the paper to make it fit on the inside... to finish I used the Distress Inks again.

At first it looked like this, a sort of a pocket on the inside...

And this is what it looks like after glueing the butterfly papers on the inside. With the stencil I have shown you that there is an opening on the inside so you can put a label of small tag in there.

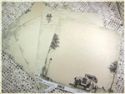
After I worked on the borders on the front of the notebook, with Vintage Photo Distress Ink I used the Leaf stencil from Dyan Reavely and worked with Wendy's Embossing Paste. On top of the embossing paste I played with two colours of embossing powder. First I put the pink color on top...

After the pink embossing powder was heated up I played with the rusty brown embossing powder.

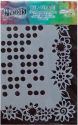
I did the same procedure with the back of the notebook, but with the Flower Stencil from Dyan Reavely.

The inside needed something and then....it hit me, the Tissue Paper Wrap from Tim Holtz would do the trick!

See...

And then I thought why not stamp up the inside of the papers too with that fabby swirl from Wendy's stamp set. So I worked on the papers with the swirl, and then I decided that the front needed a swirl too. I even embossed it the same way with the leaves on the front.

So what still was missing was a tag of course for the inside of the notebook....so I cut a tag out of a piece of white paper distressed it with the paper distresser.

I placed a piece of the Pion Design Paper on top, and...

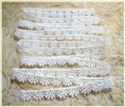
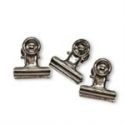
I placed a piece of white lace and a purple bow on top, and in the corner at the bottom a Metal Corner from Tim Holtz. I worked on the borders with the Distress Ink...

And yes, I also embossed a swirl from Wendy Vecchi on the little tag....

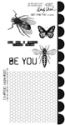
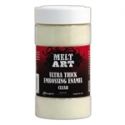
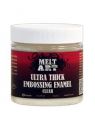
So what I also needed was of course Wendy Vecchi's fabulous butterfly from her stamp set and worked on it with the rusty embossing powder and after, the UTEE, to give the butterfly a finishing touch.

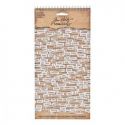
So there you have it. This is the front of the notebook. I have to confess, perhaps you think "why did she place a piece of lace (colored and all) on the side?" Well I messed up, and when I was stamping up the words 'with love and best wishes' I spilled some distress ink. So I thought I will cover it with the purple lace, and no one will notice eh?

So here is the inside of the notebook where I stamped a butterfly on the tag too....I hope Wendy will forgive me for stamping up only a half a butterfly, lol.....

And the back of the notebook... (I know this picture is not ALL that, so probably will make another one).
So guys, I hope you have had fun checking out this post and I hope I have given you some simple tips on how to make your own Altered Notebook. This is a fast project, perhaps with all the pictures it does not look at all like it is a fast one but I made this notebook in about an hour. So if I can do it, so can you...
Have lots of fun,
Hugs Terry
xxxx
 |  |  |  |  |
 |  |  |  |  |
 |  |  |  |  |
 |  |  |  |  |
 |  |  |  |  |
 |  |

Good morning sweetie this is just gorgeous, fabulous creation as always hugs Pops x
BeantwoordenVerwijderenLooks fab! Love the pink embossing powder. thanks as always for sharing.
BeantwoordenVerwijderenVery pretty and appealing with all that texture! Love your color choices, too. Thanks 4 sharing~Terry Y.
BeantwoordenVerwijderen