
I altered a Heart shaped box and will show you how I made it and the materials that I used.

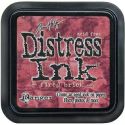
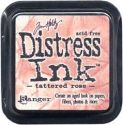
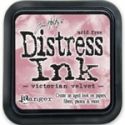
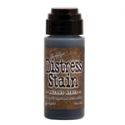
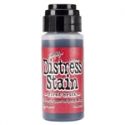
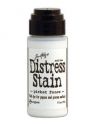
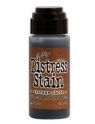
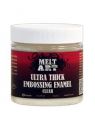
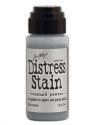
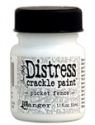
Oke here we go, the materials that I used for the hearshaped box is offcourse a box, a nice piece of lace, distress crackle White Picket Fence, Distress Crackle Stickles Rock Candy, Distress Stains; Metallic and Fired Brick, Distress Ink; Victorian Velvet, Fired Brick, Tattered Rose, Vintage Photo and Walnut Stain, and the .....I will put them all underneith the post.

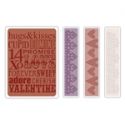
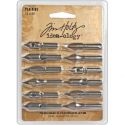
For the word LOVE I worked with the Embossing Folder from Tim Holtz, Valentine. I embossed the words and cut them out, worked on it with Fired Brick and the Crackle White Picket Fence...

And for the hearts I stamped the hearts from the stampset Valentine from Tim Holtz and played on it with Distress Stain Fired Brick, sprayed some water on it to make the color a little softer and on top Crackle Accents.

The box first layer was worked on with Gesso and the lace was white before.....but when I was done with it, it had two different colors, the Metallic Stain was used and the Victiorian Velvet Distress Ink. The box was colored with the Fired Brick and Metallic Stain and on top I played with the Crackle White Picket Fence to give it this crackled look.


The rose on the right side is not worked on with anything, that is how I started....the roses on the left side are worked on with glimmermist and with Utee, don't you just love the Porcelain look......I do...
It is very easy to do, you dip the roses into the Utee when they are still wet, then you dry with your heattool and do this a few times.....After 3 or 4 times of dipping the roses into Utee you get this look.

So the lit of the heartshaped box was decorated with the 3 roses, the Hearts, the sentiment LOVE and a butterfly from the Wendy Vecchi, and the corner underneith....I am pleased with it and I hope that you liked the Step X Step that I have made for you. I hope when you do you will have lots of fun with it.

Thank you for listening and watching my Post.
Most of all....have lots of fun altering a box...
Hugs Terry xxxx
 |  |  |  |  |
 |  |  |  |  |
 |  |  |  |  |
 |  |  |

wauw Terry, wat leuk meis, super
BeantwoordenVerwijderenThis is a fantastic tutorial Terry. I can see clearly how you have created your beautiful box. Love the idea of putting crackle over inky gesso, and the lace is coloured so well. Hugs, Jenny x
BeantwoordenVerwijderenoh my soooo beautifull !! Hugs Joyce
BeantwoordenVerwijderenYou did a fantastic job on this! I love all the wonderful elements!
BeantwoordenVerwijderenFabulous shabby chic box - thanks for the lovely tutorial!
BeantwoordenVerwijderenAlison x
saw this over at the F&F site---gorgeous!!!!!
BeantwoordenVerwijderenLoved your Step X Step - such a gorgeous box!
BeantwoordenVerwijderenHey there georgous ladies, thank you so very much for your very sweet comments on my first Tutorial Hugs Terry xxxx
BeantwoordenVerwijderenA gorgeous box, love all the details. Thanks for the tutorial.
BeantwoordenVerwijderenGorgeous altered box...love the crackle and all the embellies...what a keepsake!
BeantwoordenVerwijderen